Practical Photography · Smartphone Home Studio
How to Take a 3×4 ID Photo at Home with Your Phone: Distance, Zoom, Lighting and 3 Big Mistakes
4 min read · Reviewed on: 2026-11-08
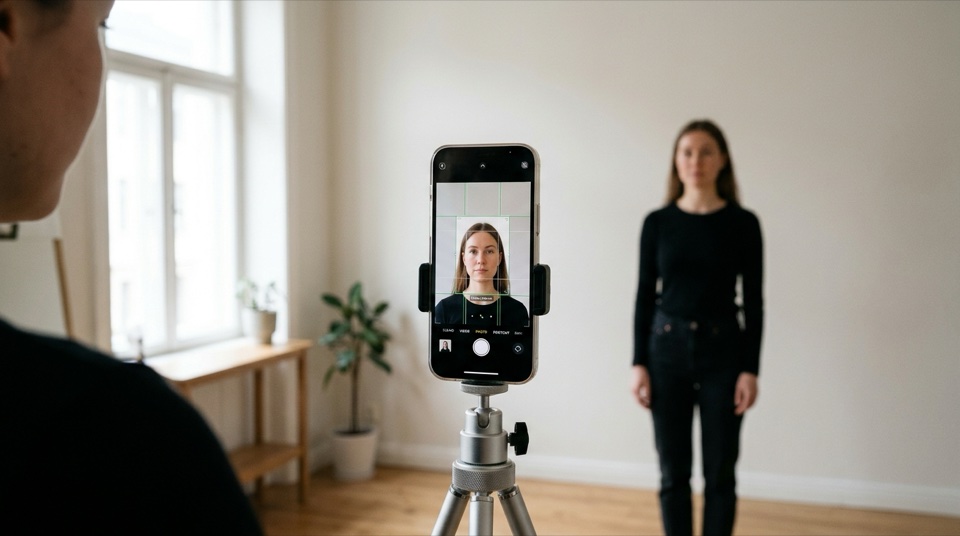
Direct Answer (Technical Summary)
To capture a compliant 3×4 cm or passport photo at home using a smartphone, stand 1.5 meters (5 feet) away, place the phone at eye level on a stable surface, and use the rear camera with 2× or 3× telephoto zoom to avoid wide-angle facial distortion. Face a window with bright indirect daylight and step 50 cm to 1 meter forward from the wall to eliminate cast shadows. Then crop on PassPhotoFree and export a 10×15 cm (4×6") sheet with 8 photos to print for pennies.
Recommended smartphone capture parameters for home document photography
| Capture Setting | Technical Home Recommendation | Consequence of Mistakes |
|---|---|---|
| Camera-to-Subject Distance | Approximately 1.5 meters (5 ft) away | Close-up selfies distort features and enlarge nose |
| Lens and Zoom | Rear primary camera with 2× or 3× zoom | 1× wide lens creates barrel perspective distortion |
| Device Position | Directly at eye level (tripod or stack of books) | Low angles create chin shadows; high angles distort forehead |
| Light Source | Natural indirect daylight from a front-facing window | Overhead room bulbs create dark shadows under eyes |
| Wall Clearance | Stand 50 cm to 1 meter away from background wall | Standing against the wall casts dark shadows behind ears |
| Export Resolution | 300 DPI at 3×4 ratio (354 × 472 px minimum) | Low-resolution captures appear blurry and pixelated when printed |
1. Why arm-length selfies ruin ID photos
The single most frequent mistake in homemade ID photos is the arm-length selfie. Smartphone cameras use wide-angle lenses that warp facial geometry when placed close to the subject. This optical artifact enlarges central facial features (like the nose) while shrinking ears and jawlines.
The professional fix is straightforward: place your phone on a sturdy surface or tripod 1.5 meters away at eye level. Use the primary rear lens with 2× or 3× zoom to achieve natural portrait perspective, and set a 3-to-5-second shutter timer.
- Always shoot with the rear camera for maximum detail.
- Use 2× or 3× optical zoom to preserve correct facial proportions.
- Keep the lens parallel to eye level.
2. Soft window light and how to eliminate wall shadows
Forget expensive ring lights. The cleanest, most flattering lighting for ID photos is diffused natural daylight from a large window. Position yourself facing the window so light washes over both cheeks evenly.
Turn off overhead lights to prevent harsh shadows beneath eyebrows and chin. To prevent shadows on the wall behind you, take two steps forward—leaving 2 to 3 feet of space between you and the wall.
3. The 3 most common reasons home photos get rejected
Official agencies scan for clean biometric visibility. Ensure you avoid these common traps:
- Visible dark shadows cast on the background.
- Motion blur or graininess from low ambient light.
- Bad framing with excess torso or clipped crown of the head.
Step-by-step home capture checklist
- Locate a plain white wall near a bright window with indirect daylight
- Stand 2 to 3 feet away from the wall to avoid background shadows
- Mount your smartphone 5 feet away at exact eye level
- Switch to rear camera with 2× zoom and set a 3-second timer
- Maintain a neutral expression looking directly at the camera lens
- Upload to PassPhotoFree to crop and generate your printable 4×6" sheet
Frequently asked questions
Can I take my passport photo with the front selfie camera?
It is strongly discouraged. Front cameras have smaller sensors and wider angles that cause noticeable facial distortion. Use the rear camera with a timer.
Do I need a professional photo backdrop at home?
No. Any smooth white or off-white wall with balanced lighting works. PassPhotoFree handles exact cropping and calibration.
How do I print my photos at the correct scale?
Export the 4×6" (10×15 cm) sheet from PassPhotoFree. At the printing kiosk, choose 4×6" paper and select "Print at 100% / Do Not Fit".
Related document presets (open editor)
All documents →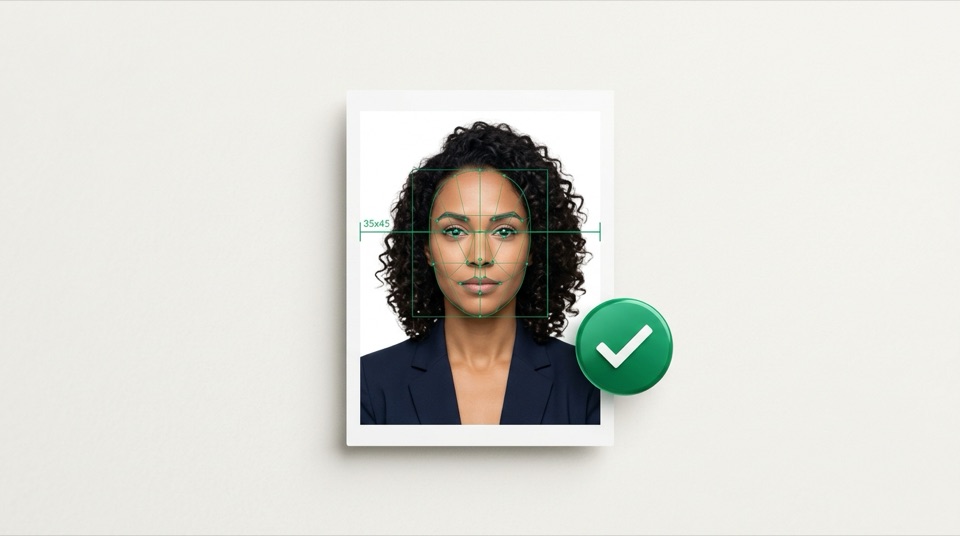
More technical guides
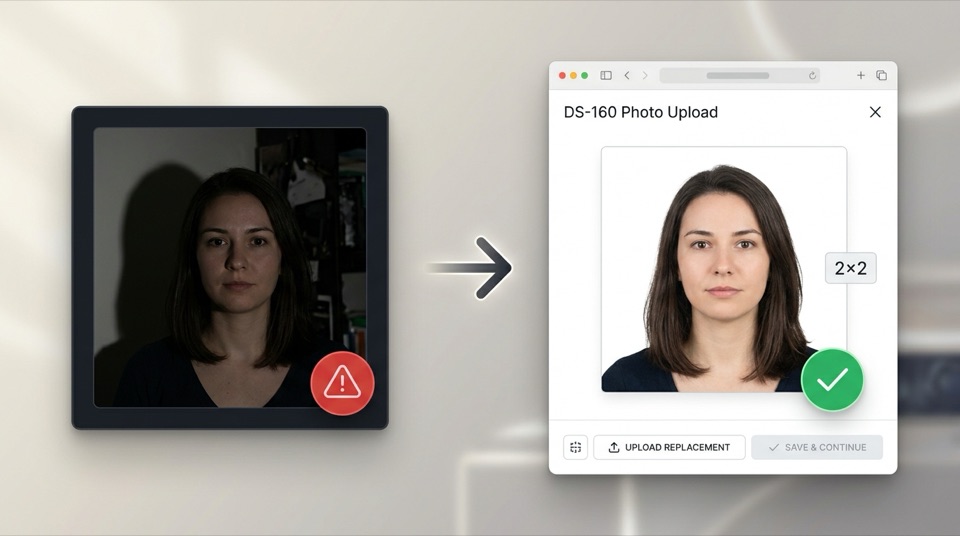
U.S. Visa & Passport · Form DS-160
U.S. Visa Photo Rejected on DS-160: How to Fix 600×600 Pixels, White Background & 240 KB Limit
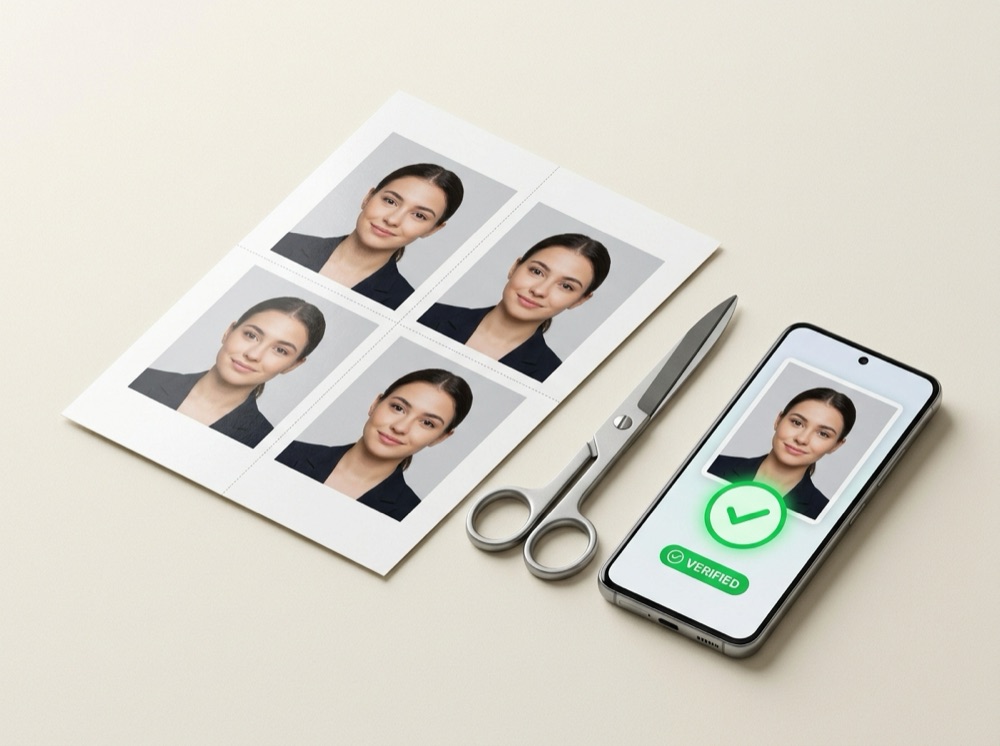
True-Scale Printing · 300 DPI
How to Print Passport & ID Photos on 4×6 in (10×15 cm) or A4 Paper Without Losing Scale
Baby & Infant Guide · Shadow-Free Method